
When it comes to party planning, the dessert is always a big deal, isn't it? You want something that makes folks smile without turning your kitchen into a battleground. Enter Frosted Brownie Bites. These little gems strike the perfect balance between rich, fudgy chocolate goodness and eye-catching frosting. They're small enough to pop in your mouth but mighty in flavor.
Now, here's the fun part: you can dress them up as you please. Toss in some nuts for a little crunch or sprinkle on colorful sprinkles to jazz things up. They'll please the chocolate lovers, the adventurous tasters, and everyone in between. Plus, there's a savvy way to whip these up that ensures you get that delightful combination of taste and texture. So grab your apron and let's dive into making these crowd-pleasers!
Ingredients
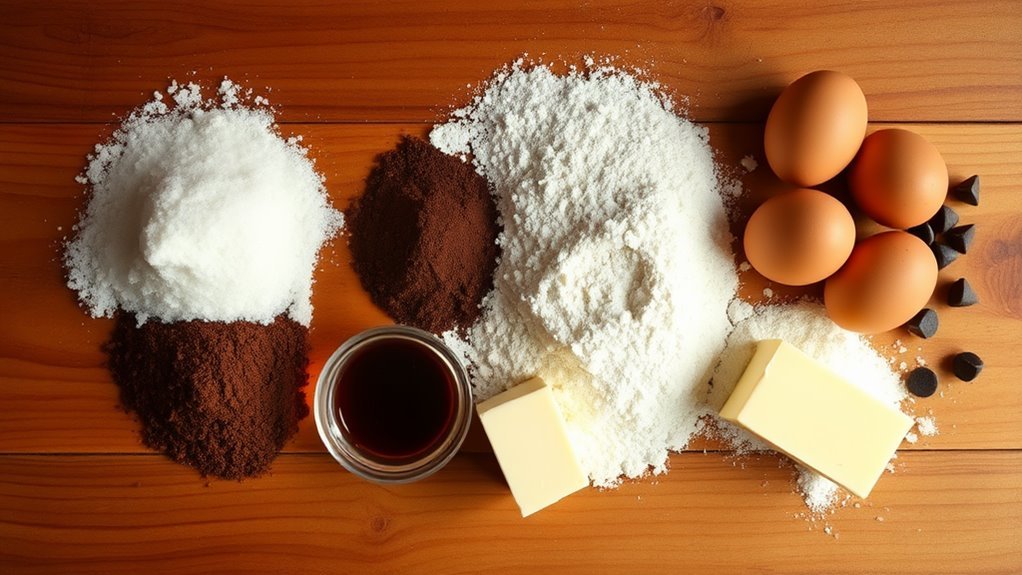
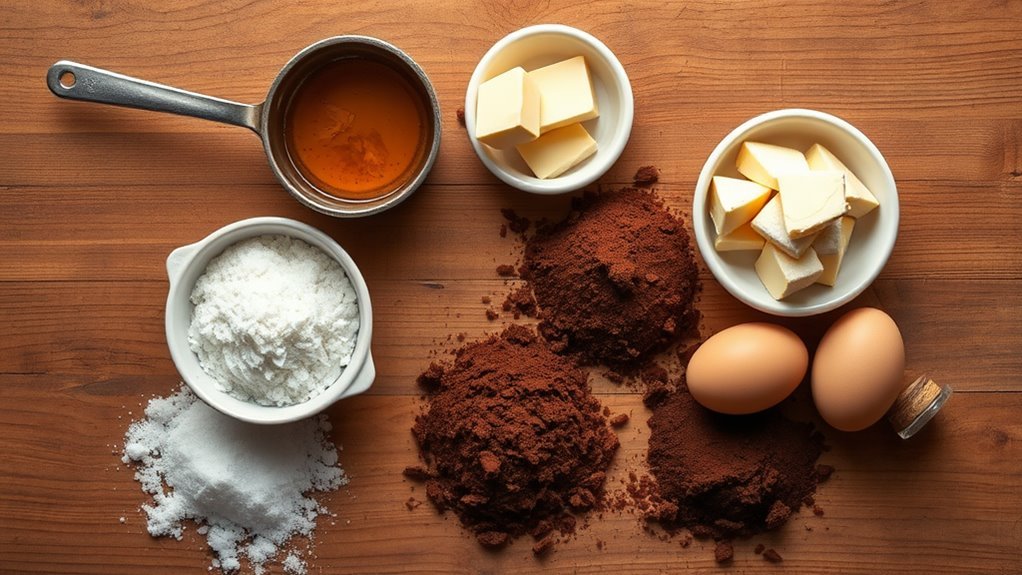
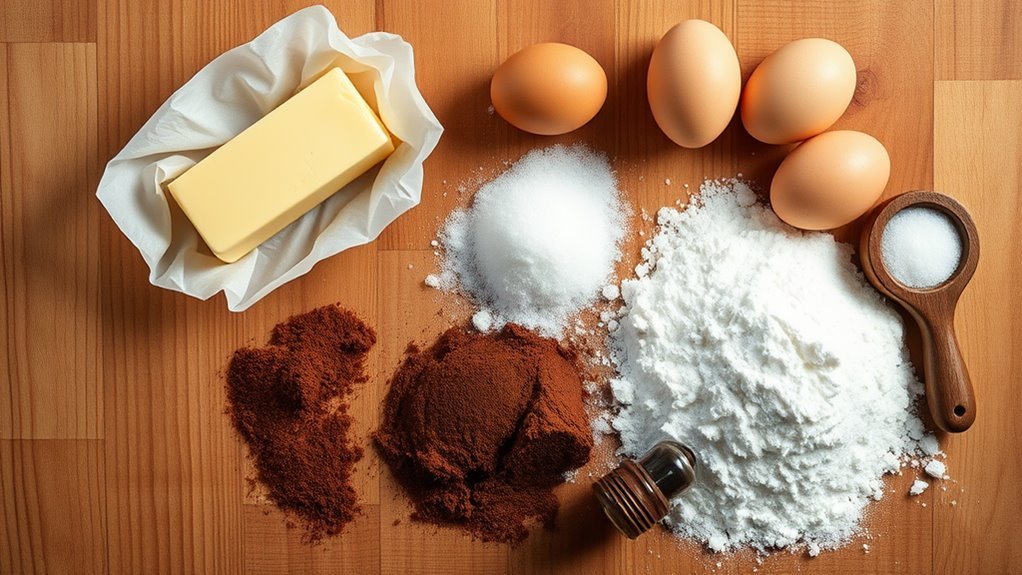
When preparing brownie bites for a party, a delightful combination of rich, chocolatey brownie base and creamy frosting can make them a hit among guests. The foundational ingredients for the brownie batter include 1 and 1/2 sticks of unsalted butter, which helps to create a moist and tender texture. You will also need 2 cups of sugar to impart sweetness, along with 4 large eggs that provide structure and richness. Cocoa powder lends the essential chocolate flavor, while a teaspoon of vanilla extract enhances the overall taste. To flesh out the batter, you'll also incorporate flour and a pinch of salt for balance, and optional mix-ins such as nuts or chocolate chips can add extra texture and flavor dimensions, making each bite uniquely enjoyable.
For the frosting, a luscious layer that tops off the brownie bites, the ingredients are equally simple yet effective. You'll require powdered sugar, milk, and butter to create a smooth and creamy frosting. For those using specific branded ingredients, The Lindsay Ann recipe suggests the inclusion of Pillsbury Milk Chocolate Brownie Mix for the base and Pillsbury Funfetti Frosting in Hot Pink for a vibrant finish. Alternatively, a homemade salted fudge frosting can be crafted with dark chocolate chips, heavy cream, unsalted butter, and flaky sea salt for an indulgent, slightly salty twist. This combination of ingredients offers flexibility, allowing you to tailor the taste and texture to suit various palates while ensuring that your frosted brownie bites will stand out at your party.
| Ingredient Type | Ingredient |
|---|---|
| Brownie Base | Unsalted Butter (1 and 1/2 sticks) |
| Sugar (2 cups) | |
| Large Eggs (4) | |
| Unsweetened Cocoa Powder (1/2 cup) | |
| Vanilla Extract (1 teaspoon) | |
| Flour (as needed) | |
| Salt (a pinch) | |
| Optional Mix-ins (nuts, chocolate chips) | |
| Frosting | Powdered Sugar |
| Milk | |
| Butter | |
| Premade Mix Option | Pillsbury Milk Chocolate Brownie Mix |
| Pillsbury Funfetti Frosting | |
| Homemade Salted Fudge Frosting | Dark Chocolate Chips |
| Heavy Cream | |
| Unsalted Butter | |
| Flaky Sea Salt |
Recipe
Frosted brownie bites are the perfect bite-sized treats for any gathering, combining the richness of classic brownies with the convenience of single servings. Whether you're hosting a party or attending a potluck, these little indulgences offer a balance of decadence and ease.
This versatile recipe allows you to customize your brownie bites with an array of optional mix-ins, making your creation uniquely yours. Enjoy the process as you craft these delightful morsels designed to satisfy any sweet tooth.
To begin, you'll want to prepare by preheating your oven to 350°F (175°C). While the oven is warming up, grease a mini muffin tin thoroughly with butter or cooking spray to guarantee easy removal of the brownie bites later.
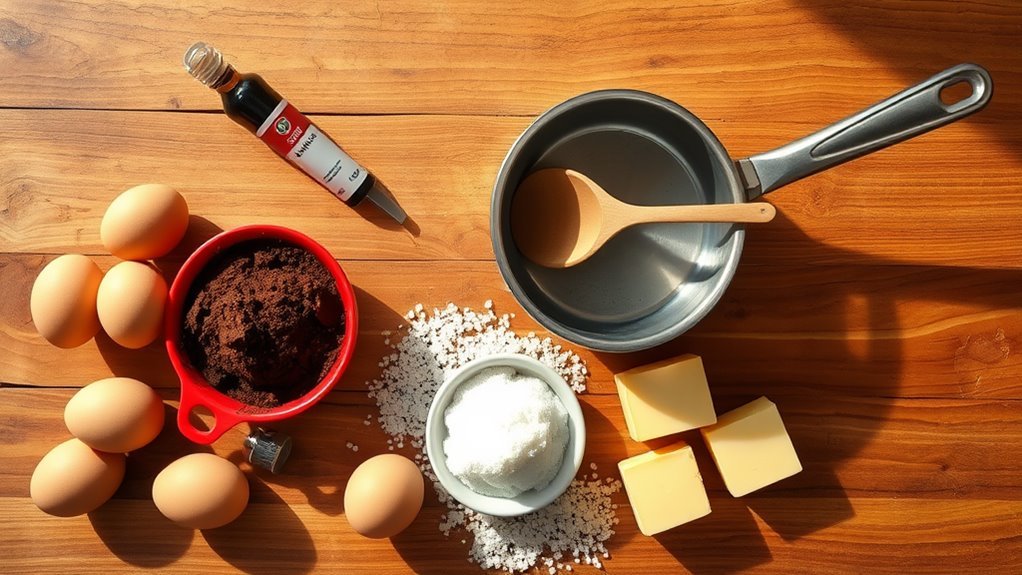
In a medium saucepan, melt 1 and 1/2 sticks of unsalted butter with 2 cups of sugar over low heat, stirring gently until the mixture is well combined. Remove from heat and whisk in 1/2 cup of unsweetened cocoa powder until smooth.
Incorporate 4 large eggs one at a time into the mixture, guaranteeing each is fully blended before adding the next. Add 1 teaspoon of vanilla extract for a hint of aromatic sweetness.
Gradually mix in flour and salt, and if desired, fold in any optional mix-ins like nuts or chocolate chips. Distribute the prepared batter evenly into the muffin cups, filling 3/4 full to allow space for the bites to rise.
Bake the brownie bites in the preheated oven for approximately 12-15 minutes. Keep an eye on them and use a toothpick to check for doneness; it should come out with a few moist crumbs clinging to it rather than wet batter.
Overbaking will result in a dry texture, so be mindful of the timing. Once baked, allow the brownies to cool completely in the muffin tin before removing.
For best results, guarantee all your ingredients are at room temperature before starting. This helps everything mix more evenly and can improve the texture of the final product.
Additionally, when whisking the eggs into the batter, try to keep minimal air incorporated, as too much air can lead to uneven baking. If adding mix-ins, choose ingredients that complement the brownie flavor profile, and consider keeping mix-ins small to guarantee they don't overwhelm each bite.
Enjoy your frosted brownie bites as is, or top with a thin layer of frosting for a sweet finish.
Cooking Tips
Mastery of baking techniques can elevate your frosted brownie bites from good to truly delightful. Let's start with the mini muffin tin—make sure it's generously greased with butter or cooking spray. This step guarantees your brownie bites will pop right out after baking, avoiding any crumbly casualties.
As keen as you might be, don't rush; let them cool completely in the tin. This patience promises intact, perfect bites!
When preparing, don't forget to preheat your oven to 350°F (175°C). Bake for 12-15 minutes. Use the toothpick test—insert it into a brownie, and if it comes out with a few moist crumbs, they're just right!
While they're still warm, use a teaspoon to create a small well in the top. This depression will cradle the frosting beautifully.
Now, here's a pro tip: sprinkle parchment paper across your work surface when frosting the brownie bites. It helps catch any messy drips or rogue sprinkles—less cleanup makes for a happier baker!
Seal the deal by adding sprinkles immediately after frosting to confirm they stick perfectly to your delightful frosted brownie bites. I promise these tips will enhance both presentation and flavor.
History
Brownie bites, like many beloved treats, have an interesting history that stretches back over a century. Imagine the late 19th century when the concept of the brownie was emerging. The first recipe appeared in the 1896 Boston Cooking-School Magazine. Brownies entered the culinary stage as a novel creation. By the early 20th century, the modern brownie with its rich chocolate and nut components had captured everyone's taste buds.
Here's a quick historical snapshot:
| Time Period | Brownie Evolution |
|---|---|
| Late 19th Century | First brownie recipe published (1896) |
| Early 20th Century | Introduction of chocolate and nuts |
| Mid 20th Century | Frosting becomes mainstream |
| Late 20th – Early 21st Century | Rise of mini desserts at parties |
| 2010s | Social media popularizes frosted brownie bites |
Frosting joined the brownie party in the mid-20th century, when convenience foods took over kitchens, giving desserts a new dimension. Fast forward to recent times, and we've got frosted brownie bites designed to dazzle at parties. With decorative toppings and frosting techniques refined via social media and baking blogs since the 2010s, these mini delights have become a staple. Handy and attractive, they're a perfect fit for any gathering!
Conclusion
In wrapping up our frosted brownie bites adventure, let's just say these little goodies have a way of stealing the show at any get-together. They're not just easy to whip up; they also pack a punch in flavor without fussing around with fancy decorations. Grab a tray, pile them high, and watch folks dive in—no forks necessary! It's all about savoring the simplicity and joy of good food. So go ahead, give this recipe a try, and bring that warm, homemade vibe to your next gathering. Trust me, you'll see smiles all around!