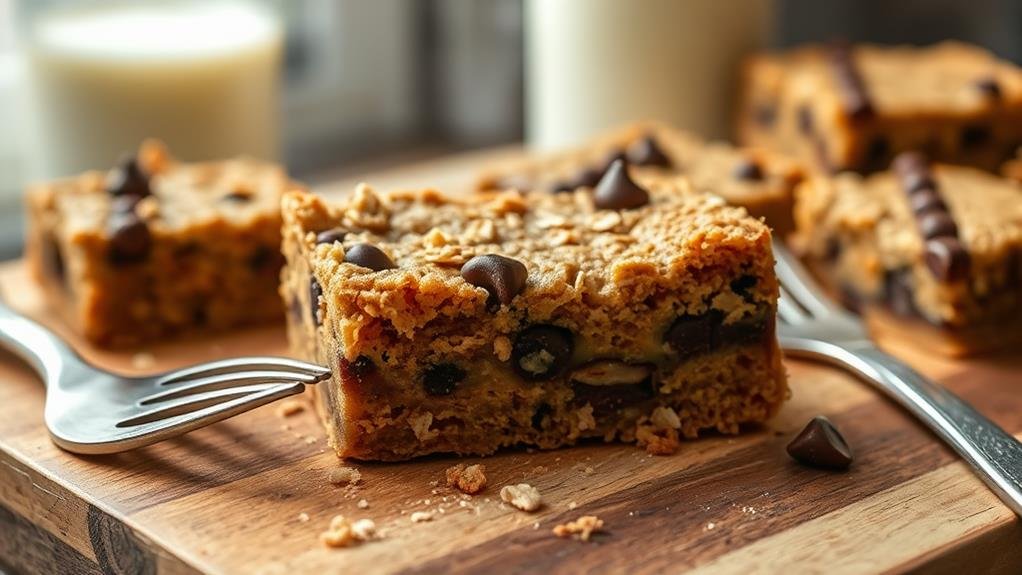
Listen, these squares are something special – they're what happens when you take three good things (oatmeal, chocolate chips, and peanut butter) and smoosh them together into something even better.
Now, I've been baking these for years, and let me tell you, they're as reliable as my old kitchen timer.
What I love about these squares is they're not fussy at all. None of that delicate pastry business – just honest ingredients coming together to make something that sticks to your ribs.
The oatmeal gives them backbone, the peanut butter brings that nutty richness (reminds me of the sandwiches my mother used to make), and those chocolate chips? Well, they're just little pockets of joy scattered throughout.
You don't need to be fancy to make these. If you can stir a pot and work an oven, you're already halfway there. And unlike those temperamental desserts that fall apart when you look at them wrong, these squares hold together properly – perfect for tucking into lunch boxes or bringing to church suppers.
I reckon once you've made these once, you'll keep coming back to them. They're just that sort of recipe – sturdy, satisfying, and no-nonsense good.
Recipe

Oatmeal chocolate chip peanut butter squares combine three beloved comfort food ingredients into one irresistible treat. These bars feature a perfect balance of chewy oats, creamy peanut butter, and rich chocolate chips, making them an ideal option for both snacking and dessert.
These squares aren't only delicious but also relatively simple to prepare, requiring basic pantry ingredients and minimal baking expertise. The bars hold their shape well when cooled, making them portable for lunch boxes, picnics, or bake sales, while still maintaining a soft, satisfying texture.
Ingredients:
- 1½ cups all-purpose flour
- 2½ cups old-fashioned oats
- 1 cup unsalted butter, softened
- 1 cup creamy peanut butter
- 1 cup brown sugar
- ½ cup granulated sugar
- 2 large eggs
- 2 teaspoons vanilla extract
- 1 teaspoon baking soda
- ½ teaspoon salt
- 1½ cups semi-sweet chocolate chips
Preheat oven to 350°F (175°C) and line a 9×13-inch baking pan with parchment paper. In a large bowl, cream together butter, peanut butter, and both sugars until light and fluffy. Beat in eggs and vanilla. Add flour, baking soda, and salt, mixing until just combined. Fold in oats and chocolate chips. Spread mixture evenly in prepared pan and bake for 25-30 minutes until edges are lightly golden and center is set. Cool completely before cutting into squares.
For best results, allow the bars to cool entirely before attempting to cut them, as they'll be quite soft when warm. Store in an airtight container at room temperature for up to 5 days, or freeze for up to 3 months. The bars can be made ahead and thawed as needed, making them perfect for advance preparation. Consider using chunky peanut butter for added texture, or swap chocolate chips for other mix-ins like butterscotch chips or chopped nuts.
These hearty oatmeal squares combine three beloved ingredients – peanut butter, chocolate chips, and rolled oats – into a satisfying treat that works equally well as a dessert or afternoon snack.
Originally born from Depression-era kitchens when home bakers needed to stretch ingredients and maximize nutrition, these squares have evolved into a modern comfort food staple.
The robust peanut butter provides protein, while the oats add beneficial fiber, making these squares more substantial than typical cookie bars. They travel well in lunch boxes and retain their freshness for several days when stored properly.
Conclusion
These squares might be called a snack, but they're mighty hard to resist. I've made them more times than I can count, and they never stick around my kitchen for long. Sure, you could argue the oats make them wholesome, but let's call a spade a spade – they're good old-fashioned comfort food, plain and simple. My grown kids still hover around the cooling rack when they smell these baking, same as they did thirty years ago. Works just fine with regular or chunky peanut butter, though I prefer the smooth kind myself. Best to hide a few in the back of the freezer if you want any left for later – they freeze beautifully, by the way.

