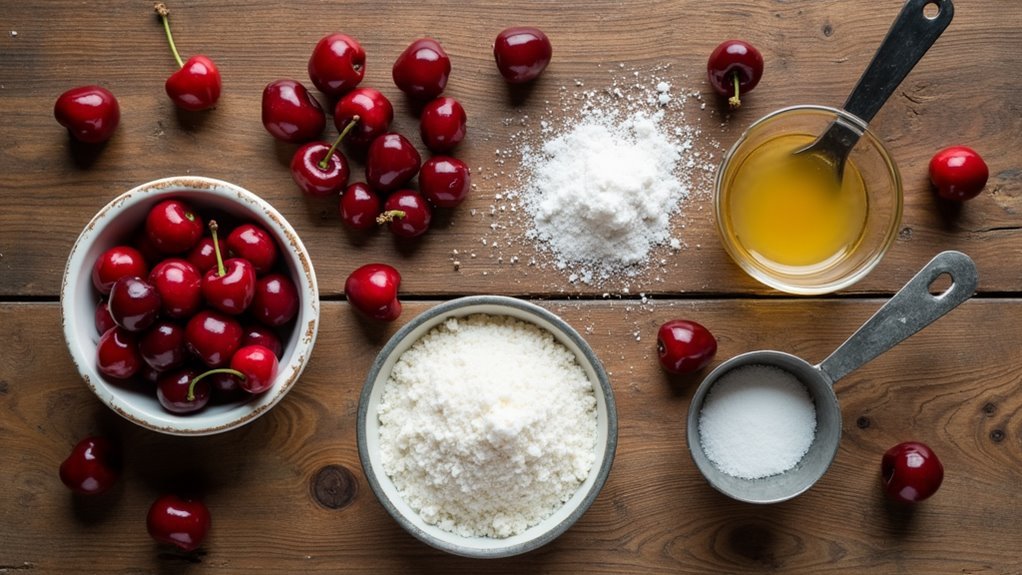
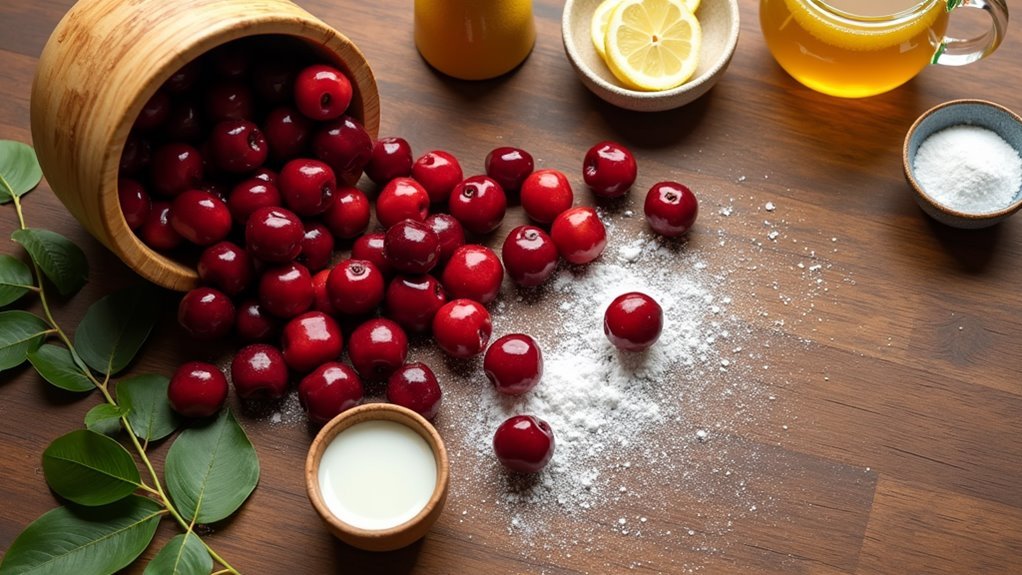
Alright, let’s dive into the world of cherry pie filling and see how we can use it in a classic dessert recipe that’s as comforting as a hug from your grandma. Here’s a simple and satisfying Cherry Cheesecake that makes good use of that sweet-tart delight in a way you might not have thought of before.
Easy Cherry Cheesecake
Ingredients:
- 1 store-bought graham cracker crust (because who has time to make one from scratch?)
- 16 ounces cream cheese (make sure it’s softened, nobody likes a lumpy cheesecake)
- 1 cup granulated sugar
- 2 large eggs
- 1 teaspoon vanilla extract
- 1 can (about 21 ounces) cherry pie filling (the star of our show)
- A sprinkle of powdered sugar (optional, just for looks)
Instructions:
- Preheat the Oven: First things first, let’s preheat that oven to 325°F (that’s 160°C for you folks across the pond). You want it nice and warm for our cheesecake.
- Mix it Up: Grab a mixing bowl and add in your softened cream cheese. Beat it until it’s nice and creamy—no one likes a chunky cheesecake. Then, add in the sugar and beat until it’s smooth, followed by the eggs one at a time. Don’t rush; let each egg get all cozy with the cream cheese before adding the next one. Lastly, toss in the vanilla and give it another good mix.
- Fill the Crust: Now, pour the cheesecake mixture right into that graham cracker crust. Give it a little shake to level it off. We’re not using a fancy springform pan today—keep it simple.
- Bake Time: Pop that beauty in the oven and let it bake for 50-60 minutes. You want it set around the edges but still a bit wobbly in the center. Trust me, it’ll firm up as it cools down.
- Cool Down: Once done, turn off the oven and leave the cheesecake inside for about an hour with the door ajar. This little trick helps prevent cracking—nobody likes a cracked cheesecake, except maybe your husband who thinks it adds character.
- Top it Off: After it’s cooled, let it chill in the fridge for a few hours (or overnight if you can wait). When you’re ready to serve, spoon that glorious cherry pie filling right on top. Go generous—this isn’t the time to be shy with the toppings.
- Serve and Enjoy: Give it a sprinkle of powdered sugar if you’re feeling fancy, slice it up, and enjoy every creamy, fruity bite. Perfect for a family gathering or a quiet evening at home.
There you go—a Cherry Cheesecake that brings a little extra cheer to any occasion, and all thanks to that tasty cherry pie filling. Happy baking!
Recipe

Cherry Pie Filling is a versatile and delightful component for various desserts. This recipe combines the sweet and tart flavors of cherries, enhanced by sugar, lemon juice, and almond extract for a harmonious blend of taste and aroma.
Whether you choose fresh or frozen cherries, this filling becomes a rich and vibrant base perfect for pies, tarts, and pastries. The final result is a glossy, succulent filling that holds its shape yet oozes with juicy goodness.
Ingredients for this recipe include 4 cups of pitted cherries, 1 cup of granulated sugar, 1/4 cup of cornstarch for thickening, 1 tablespoon of lemon juice, 1/2 teaspoon of almond extract, and a pinch of salt to balance the sweetness.
Making cherry pie filling from scratch allows you to control the sugar content, enhancing the fruit’s natural flavor without overpowering it. The cornstarch acts as a thickener, providing the right consistency without making the filling clumpy.
To make the cherry pie filling, begin by combining cherries and sugar in a medium saucepan over medium heat. Stir occasionally until the sugar is dissolved and the cherries start releasing their juices.
In a small bowl, whisk together the cornstarch with a few tablespoons of water to create a slurry and add it to the cherry mixture. Bring the mixture to a boil, stirring constantly, until it thickens.
Add the lemon juice, almond extract, and a pinch of salt, stirring until well combined. Remove from heat and let the filling cool to room temperature before using it as desired.
When preparing your cherry pie filling, keep a few tips in mind to guarantee a perfect balance of flavor and texture. If using frozen cherries, thaw them and drain any excess liquid to prevent a watery filling.
Adjust the sugar according to the sweetness of your cherries; taste as you go to achieve the right level. If the filling looks too thick after cooling, stir in a bit of water to reach your desired consistency.
Remember that the filling will also thicken as it bakes in your pie, so aim for a pourable yet substantial consistency when cooking on the stove.

Cherry pie filling is a versatile and delicious component that has been cherished in kitchens across the globe for generations.
The sweet and tart balance of cherries creates a flavor that’s perfect either as a pie filling or as a topping for various desserts.
Cherries have been cultivated since ancient times, and their journey from wild fruit to the staple in our pantries today is a reflection of how much we value their unique taste.
Whether you’re a novice baker trying your hand at making a pie from scratch or a seasoned pro looking to perfect your dessert game, a homemade cherry pie filling can transform any dish into a memorable experience.
Conclusion
Alright, gather ’round the kitchen, friends. We’re diving into the delightful world of cherry pie filling – that sweet symphony of cherries that can transform even the simplest of desserts into something special.

