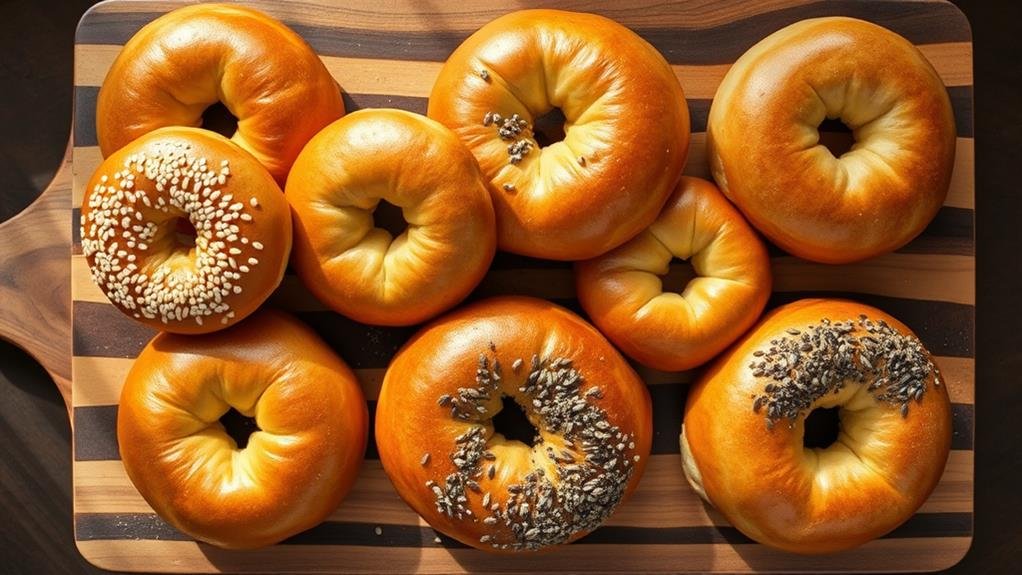
Listen up – there's nothing quite like a proper homemade bagel, and I've been making these beauties for longer than I care to remember.
You'll need 4 cups of good bread flour (don't skimp here – get the high-protein kind), 2¼ teaspoons of active dry yeast, 2 tablespoons of honey, 1½ teaspoons of salt, and 1¼ cups of warm water that should feel like a nice bath temperature.
Now, don't let anyone tell you bagels are tricky. Sure, it takes a full day to make them properly, but most of that time they're just sitting there doing their own thing. The secret's in letting them take their time – rushing a bagel is like rushing a good stew, it just won't do.
Mind you, there's a bit of technique involved if you want that glossy crust and proper chewy middle. Reminds me of the bagels from the old shop down on Madison Avenue, back when I was a girl.
We'll work the dough good and proper, let it rest overnight (that's what gives it that lovely malty taste), and then we'll give them a little bath in boiling water before they hit the oven. Trust me, once you've made these, you won't want to buy store-bought again.
Recipe

Classic homemade bagels bring the authentic taste of New York-style bakeries right to your kitchen. These chewy, dense rings of bread with their signature glossy exterior are achieved through a unique two-step cooking process of boiling and baking, creating that distinctively crispy crust and soft interior that bagel lovers crave.
The tradition of crafting baked goods from scratch, much like the history of gingerbread cookies, emphasizes the joy of homemade creations and the rich flavors developed through careful preparation.
Making bagels from scratch requires patience and technique, but the results are worth the effort. The dough needs proper kneading to develop gluten structure, followed by slow fermentation in the refrigerator to develop complex flavors. The boiling step in water with honey or malt syrup is essential for achieving that characteristic bagel texture and shine.
Ingredients:
- 3½ cups bread flour
- 1½ cups warm water
- 2¼ teaspoons active dry yeast
- 3 tablespoons honey (divided)
- 1½ teaspoons salt
- 1 egg white (for brushing)
- 2 tablespoons cornmeal
- Optional toppings: sesame seeds, poppy seeds, dried onion, or everything bagel seasoning
Mix yeast with warm water and 1 tablespoon honey, let stand for 5 minutes until foamy. Combine flour and salt in a large bowl, then add the yeast mixture. Knead for 10-12 minutes until smooth and elastic. Form into 8 balls, shape into rings, and refrigerate overnight.
Next day, boil bagels in water with remaining honey for 1 minute per side, transfer to a cornmeal-dusted baking sheet, brush with egg white, add desired toppings, and bake at 425°F for 20-25 minutes until golden brown.
For best results, use high-protein bread flour and avoid overworking the dough when shaping the rings. The overnight refrigeration is optimal for flavor development and shouldn't be skipped. Bagels should be eaten within 24 hours of baking for peak freshness, though they can be frozen for up to 3 months if wrapped tightly in plastic wrap and stored in a freezer bag.
Fresh bagels are a tribute to the magic of yeasted dough – chewy, dense rings with a glossy crust that have been a breakfast staple for centuries.
While New York City may be famous for its bagel shops, this Jewish bread actually originated in 16th century Poland, where they were first given as gifts to women in childbirth.
The signature texture comes from a unique two-step cooking process: a brief boil followed by baking. Though making bagels at home requires patience, the process is deeply satisfying and fills the kitchen with the aroma of freshly baked bread.
This recipe breaks down the classic technique into manageable steps, allowing you to create authentic, crusty bagels right in your own kitchen.
Conclusion
Making bagels at home might seem like a bit of fuss, but trust me – once you've pulled your own golden rings from the oven, you'll wonder why you didn't try it sooner. That overnight rest in the fridge isn't extra work; it's just letting time do its magic while you sleep. The dough knows what it's doing, developing all those good flavors and that proper bagel chew we're after.
You'll need a kitchen scale and thermometer – nothing fancy, just the basics. And between you and me, these homemade beauties will save you quite a bit compared to those pricey ones at specialty shops. The recipe's been tested more times than I can count, so just follow along step by step. The trick is in the boiling before baking – that's what gives bagels their signature crust.
Goodness knows I've made every mistake possible over the years, so I've worked out all the kinks for you. Once you get the hang of it, you'll be turning out proper bagels like you've been doing it for years.

